DIY Duck Tape Table
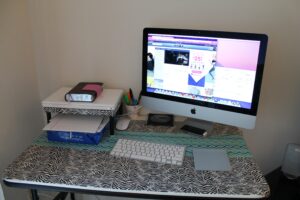
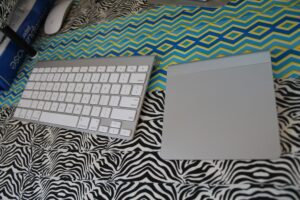
A couple of weeks ago, I was browsing Instagram and saw a link to Sophistishe's Duck Tape Table tutorial. I knew then that I had to try it. I purchased the tape at Dollar General and got to work. I must admit that this was a quick and easy task!! It took about 30 minutes (maybe less) and I wanted to duck tape everything when I was done.
I also ended up rearranging the furniture in our living room. Ivy started walking a little over a week ago and the set up that I had was not enough space for her to room. She was bumping her head on the coffee table, banging on the sliding door, and pulling cords.
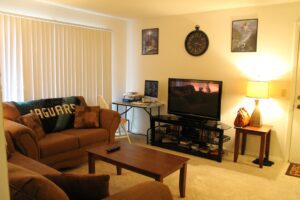
Having the furniture this way is a lot more secure. All of the plugs and surge protectors are hidden now. The kids also have a lot more room to play on the floor. The design before had the loveseat on the opposite side of the sofa..acting more as a divider. This is the third time that I've rearranged furniture this month and I think it's a winner.
3 comments
Comments are closed.

Your table looks great and organized. Cool duck tape. Looks super cute.
I wish my living room could look so comfortable.
I love duct tape! I covered a notebook in it and my daughter made some flip flops and a handbag with it. I get that feeling of wanting to cover everything with it!!
I love this idea! Maybe I should try it on this small table I have that I don't love anymore. A new look might just be the trick!
{Visiting from SITS Girls Spring Fling, Group 3}